
Pet Playpen Instruction Manuals
Multifunctional Design Features
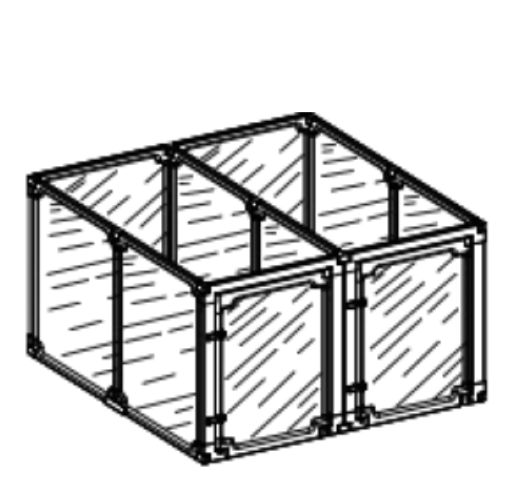
The multifunctional pet playpen can be configured for different indoor applications. Depending on the selected components, it may be used as an open playpen, a covered pet space or an enclosed pet area.
Key features include:
• Lockable casters for easier movement
• Transparent PET panels for improved visibility
• Tool-free snap-on assembly
• Modular components for flexible configurations
• Removable components for cleaning and storage
Available features and components may vary by product model. Please check the applicable manual before assembly.
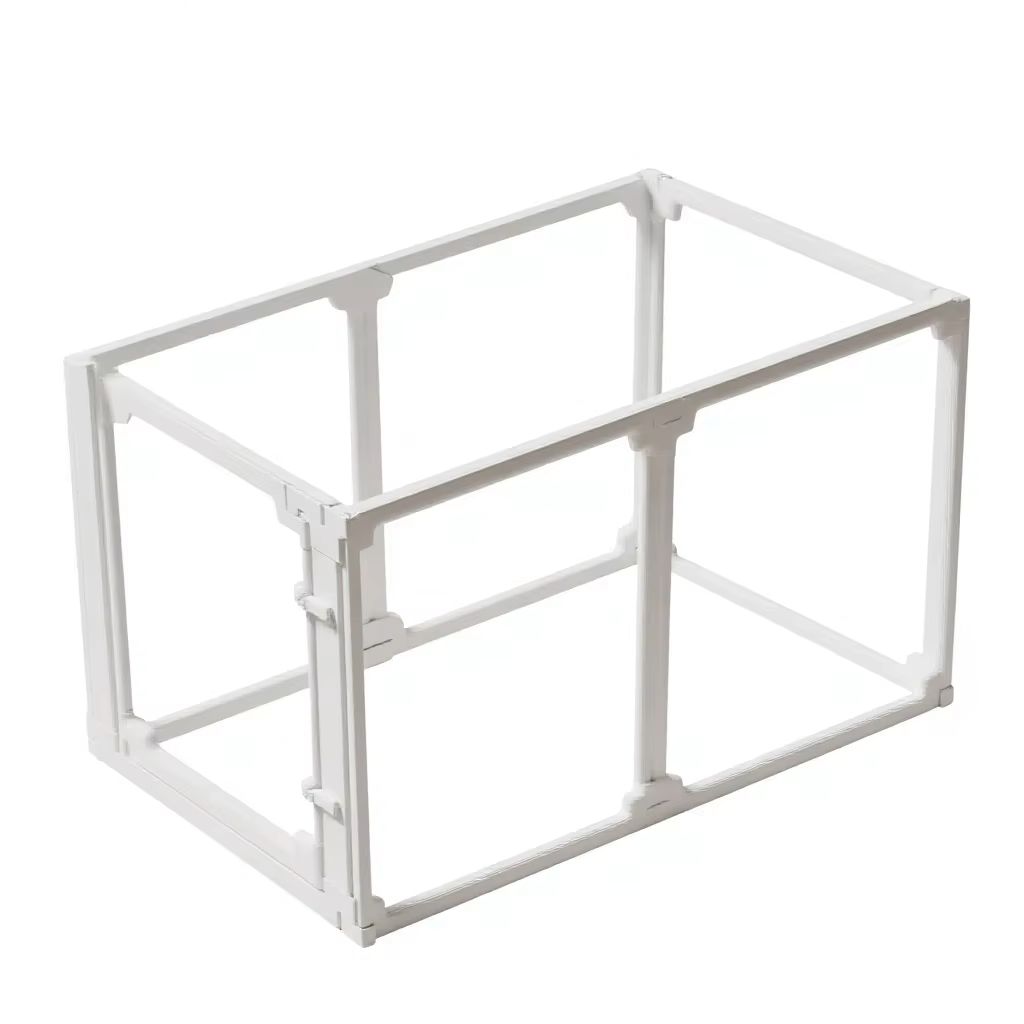
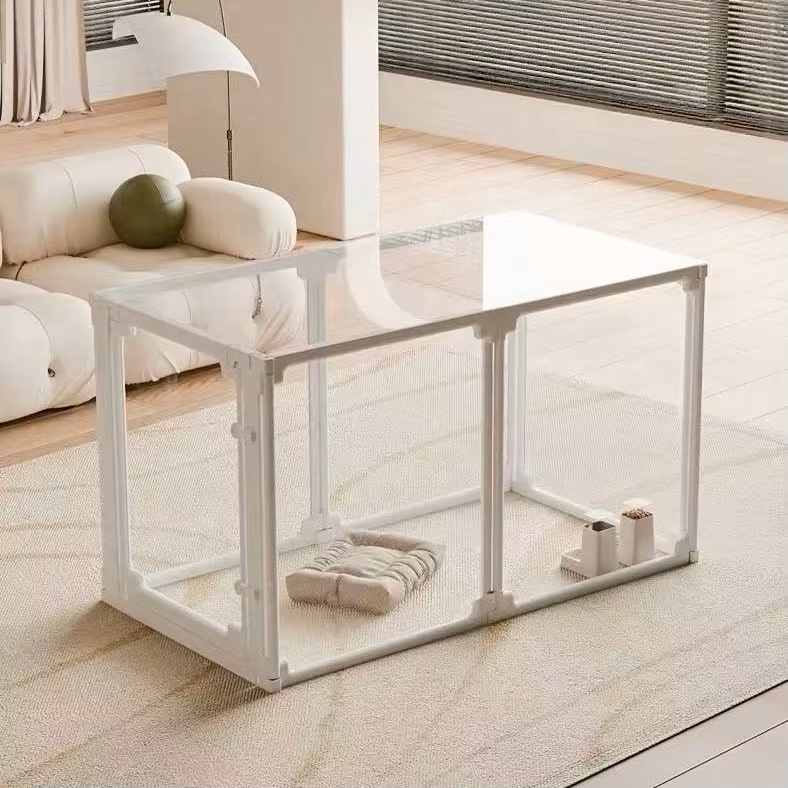
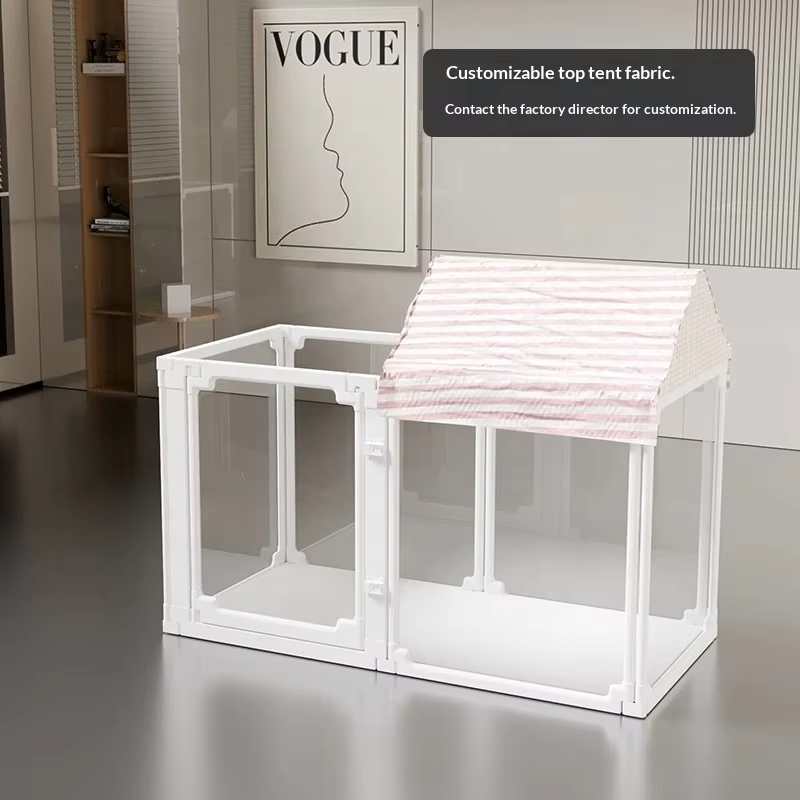
Explanation of Core Structure
1. 【Door Panel Assembly】 and 【Faceplate Assembly】: Consist of two core parts, vertically arranged openable door panels and enclosure faceplates, which can be rapidly assembled with various connecting fittings.
2. Connecting Fittings: Top connectors are applied for horizontal connection of upper enclosure assemblies to guarantee structural stability; bottom connectors serve the horizontal connection of bottom assemblies and are additionally fitted with anti-slip stickers to boost friction between the enclosure and ground and avoid shifting.
3. Door Panel Structure: Constructed with an outer frame and an inner door panel. A lock slider is mounted on the outer frame to secure the inner door for safety protection.
4. Clear PET Panels: Clear PET panels are installed inside both faceplate and door panel assemblies to maintain sufficient light penetration inside the enclosure. Pet owners can clearly watch their pets’ movements from any viewing angle and stay closely interactive with pets at all times.
Product size
Product Dimensions: Single piece 60cm in width × 70cm in height; custom sizes available upon request
Preparation before installation
Unpacking Inspection: Please take out all packaged contents and verify that the following components are included:
User Manual: Door Panel Assembly / Faceplate Assembly (configured according to the specific purchased model)
Connecting Fittings (Straight Connector / Tent / Cover Plate / Base Plate / Pulley)
Installation Steps
1. Pre-placement of Components: Lay door panels, face panels and accessories on flat ground, and arrange each part according to the required fence shape (multiple layouts including rectangle, square, L-shape, concave-convex shape are available).
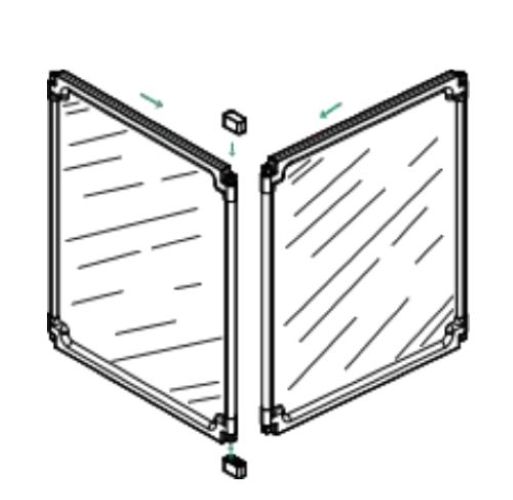
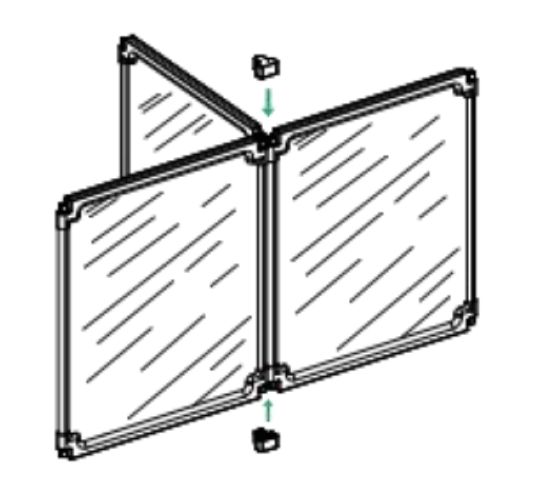
2. Connection and Fixation: Insert matching connecting pieces into the docking slots between adjacent door panels and face panels, and distinguish between top and bottom connectors.
3. Final Adjustment: Verify all components are firmly connected; peel off the PET protective film (Kind Reminder: Once the protective film is removed, the product cannot be resold and no return or exchange will be accepted); test the opening and closing smoothness of door panels.
Notes
Keep the door panel perpendicular to the faceplate during installation.
Insert connectors fully into the grooves.
Check the tightness of connecting parts regularly.